Friday, October 31, 2014

Braaaaiiinnnssss...


   Happy Halloween!

      Last night I was busy in my laboratory, I mean kitchen, creating cupcakes for a potluck at my son's high school.  Boys. You have to love them.  I got a text yesterday morning asking me if I could "bake 32 of something" for today. He added that it needn't be "anything special." My son, you'd think he'd know better. 

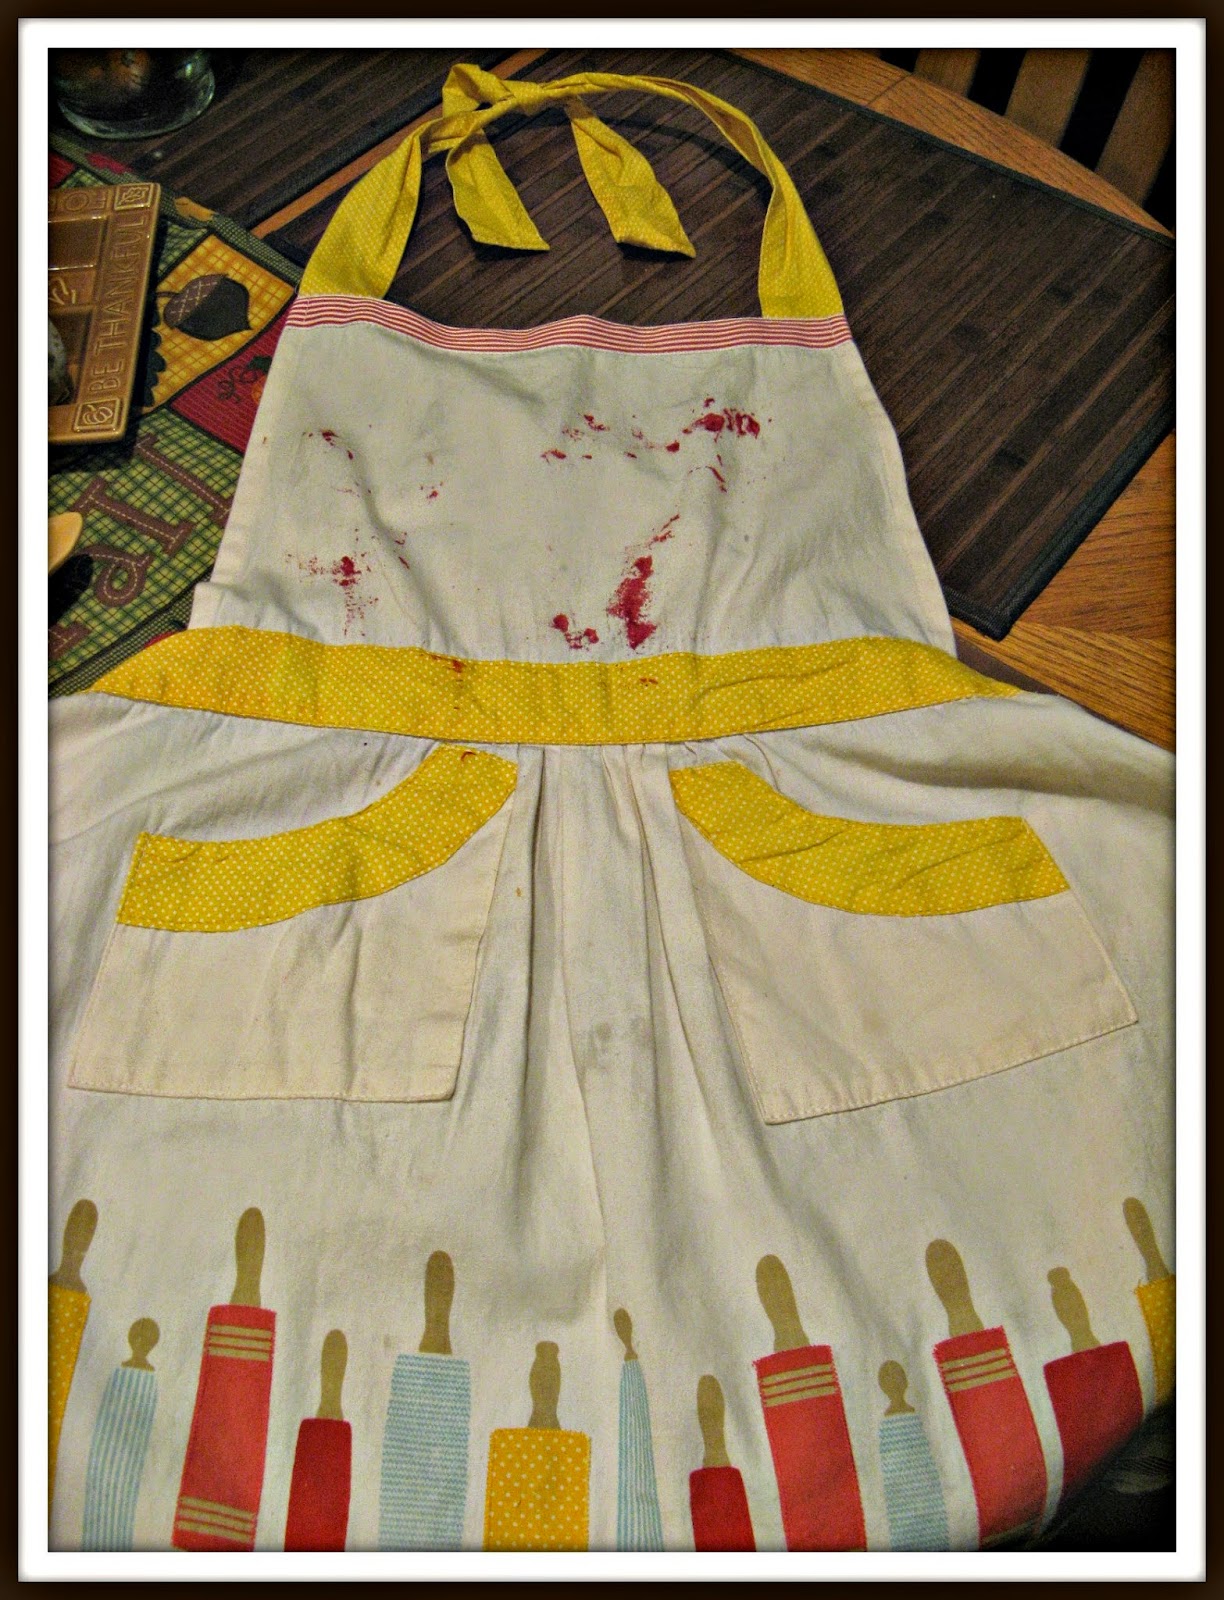
      With the help of my minions, I created these ghoulish brain cupcakes. Perfect for a class full of brainy students!  The red velvet batter makes quite a bloody starting point.  My poor apron came out looking like exhibit "A" after forensic testing!  


Here is what you'll need:


Red Velvet Batter:

2 1/2 cups flour
1/2 cup unsweetened cocoa powder
1 tsp baking soda
1/2 tsp salt
1 cup butter, softened
2 cups sugar
4 eggs
1 cup sour cream
1/2 cup milk
4 Tbsp red food colouring
2 tsp vanilla extract


  • pre-heat oven to 350 degrees
  • mix flour, cocoa powder, baking soda and salt in a medium bowl and set aside
  • in a large bowl, beat butter and sugar with an electric mixer until light and fluffy
  • beat in eggs one at a time
  • mix in sour cream, milk, food colour and vanilla 
  • add wet mixture to dry mixture and blend until combined (do not over beat!)
  • scoop into muffin tins lined with paper cups, 2/3 full (makes about 30 cupcakes)
  • bake 18-20 minutes or until a toothpick inserted in the middle comes out clean
  • cool in pans for 5 minutes, then cool completely before frosting


Vanilla Cream Cheese Frosting:

1 8oz package of cream cheese, softened
1/4 cup butter, softened
2 Tbsp sour cream
2 tsp vanilla extract
3 to 4 cups confectioners' sugar
peach food colouring

  • beat cream cheese and butter until light and fluffy
  • add sour cream and vanilla
  • add in confectioners' sugar, one cup at a time, until well blended and smooth
  • stir in food colouring until you get just the right colour for braaaiiinnnssss!

How to pipe your frosting to look like brains:
thanks Sugarhero


*recipe from allrecipes


Wednesday, September 24, 2014

Welcome Autumn...


     I cannot believe that yesterday was the first day of autumn. There are so many things I love about the fall. It is my favourite season; the colours, the flavours, crisp air and cool nights.  The other day I baked up a batch of these pumpkin nutella  muffins from a recipe I found online.  They were wonderful and I highly recommend that you try them.  The recipe is very straightforward and the results are spectacular.  These are guaranteed to bring the taste and smell of fall into your kitchen. Happy baking!


You will need:
  • 3 1/3 cups all- purpose flour
  • 2 tsp. baking soda
  • 3 cups granulated sugar
  • 1 ½ tsp. salt
  • 1 tsp cinnamon
  • 1 tsp nutmeg
  • ¼ tsp ground ginger
  • 1 cup vegetable oil
  • 4 eggs
  • 2/3 cup milk
  • 2 cups pumpkin puree
  • Nutella


Directions:

1. Preheat oven to 400 degrees and line muffin pans with cupcake liners.
2. Combine all dry ingredients in a medium sized bowl and whisk together.
3.  Add all of the remaining ingredients and mix until just combined and then fill cupcake liners 3/4 full.
4. Drop a  teaspoon of Nutella into each muffin tin over the pumpkin batter and use a toothpick to swirl it in.
5. Bake for 16-20 minutes or until an inserted toothpick comes out with no pumpkin batter on it (there may be some hot Nutella that sticks to the toothpick but that is fine!) 


Thanks to YourCupofCake for inspiring this recipe!

Thursday, September 18, 2014

No bake? Piece of cake!


     Back to school means back to routine.  Back to making lunches, after school snacks and  portable, homework enticing treats. Peanut butter, especially when paired with chocolate, is a hands down winner here at my house.  Since peanut butter is contraband at school this fudge can't be packed in lunches, but the recipe is quick and easy; perfect for an after school reward.  It calls for only 3 (yes you read that right... 3!) ingredients.  Oh, and did I mention that it doesn't require an oven?  This is a no bake treat.  Even if you don't consider yourself a baker I am confident that you can pull this one off. Seriously, give it a try. You won't be sorry!

PS- You don't have to tell anyone how easy this delicious treat was to make. Feel free to pretend you were slaving away over a hot stove for hours. It'll be our secret...


Peanut Butter Chocolate Fudge Bars


You will need:

  • 26 individual, regular sized Reese’s Peanut Butter Cups, unwrapped (20 for the bottom and 6 chopped and sprinkled on top)
  • 3 cups semi-sweet chocolate chips
  • 1 (14 ounce) can of sweetened condensed milk

Directions:

  • Line a 9x9” pan with foil and spray with cooking spray
  • Place the peanut butter cups in an even layer on the bottom of the pan. (You should use 20 on the bottom)

  • Place chocolate chips and sweetened condensed milk in a medium saucepan over low heat. Stir until chips and milk are melted together.
  • Once everything is melted together, spread evenly over peanut butter cups in prepared pan. 
  • Immediately sprinkle with the crumbled Reese's, pressing them lightly into the fudge. 
  • Cool on the counter until it’s room temperature, then cover with plastic and place in the refrigerator to harden completely.
  • When completely firm, cut into squares and enjoy!
  • Leftover pieces, if you have them, can be stored in an air tight container.
Recipe adapted from Six Sisters' Stuff